 USD
USD EUR
EUR GBP
GBP CAD
CAD
Tutorial: How to tape in hair extensions?
Tutorial: How to tape in hair extensions?
Tape-in hair extensions are lightweight, invisible, versatile, and won't harm natural hair. That's also why it's now one of the most popular hair extensions on the market.
In this post, we're here to share all the basics you should know about tape-ins, including how tape extensions work, how to apply tape-ins yourself, and some tips for better maintenance.
What are tape-in hair extensions?
Tape-in extensions come with an about 1 inch (4cm) wide pre-taped hair weft attached to a sticky tab at the top. The adhesive used for tape extensions is typically medical-grade. This type of adhesive is gentle, friendly for those who have sensitive skin, firm, and easy to remove.
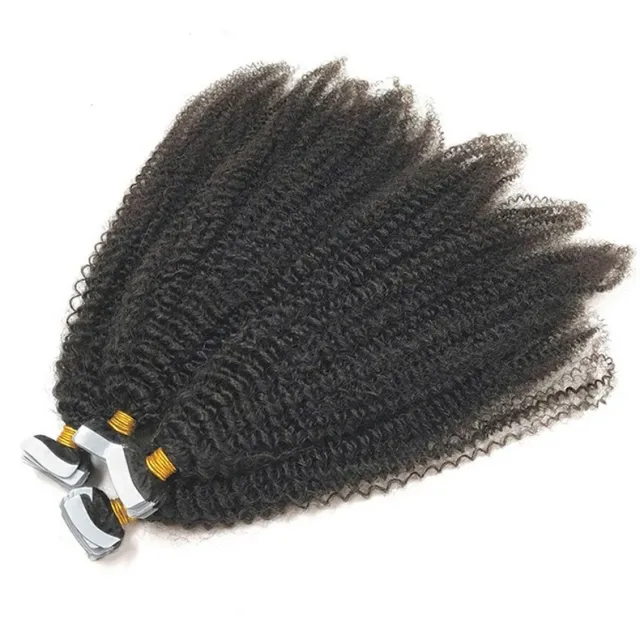
How do tape extensions work?
The sticky tab of the tape extension is covered by a paper tab. And the hairdresser just needs to section your natural hair, peel away the paper tab, and then sandwich 2 pieces of tape-in extensions together with your natural hair in between.
It's a safe and quick way to add length and volume to the whole hair look. Or you can add small pieces with a contrasting color to create a chic highlight hair look.
How to tape in hair extensions?
Some may be wondering if they can install tape-ins themselves at home. The direct answer to this question is that “yes”, there are various tutorials on Youtube and Ins. It is of course better if you get help from your mom, your friends, or a pro.
Before we dive into the tutorial on installing tape-ins, we need to clear the number of tape-ins we need for a full headset.
How many tape-in hair extensions do you need?
To add volume, typically 20 pieces are enough. While the 40-piece pack is considered a standard amount for thin to normal hair types. If you desire a fuller hair look, the 60-piece or 80-piece pack to create 30-40 sandwiches are better choices.
Here in this part, we are here to show you how to install tape-in hair extensions step by step.
Step 1: Prepare your natural hair:
Shampoo your natural hair thoroughly to remove the dust and oil so that the hair extensions can last for a longer time. Blow your hair dry thoroughly before diving into the process of installing tape extensions.
Step 2: Section your hair:
Use a rattail comb or your fingers to section your hair into two horizontal parts across your scalp from ear to ear. Use clips to section off the top part of the hair so that it will not fall down. Leave out the front hair around your hairline and the part area, and secure it with clips or hair ties.
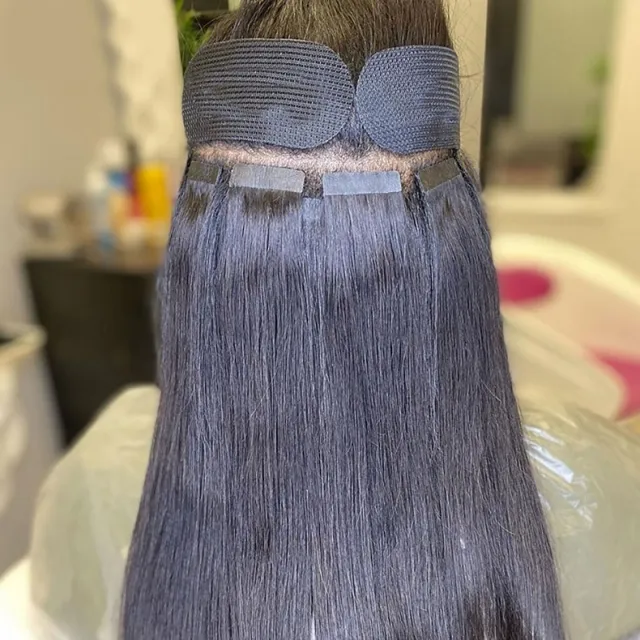
Step 3: Apply tape-in hair extensions
Use a rattail comb to section out a thin portion of hair (about 1 inch wide) from the bottom part. Pick up a piece of tape-in extension, peel away the paper tab on the top, stick the sticky tab on the top below the thin section of hair, pick up another piece of tape-in extension, peel away the paper tab, and stick it together with another piece of tape extension with your natural hair in between. Continue to apply tape-ins along the line you have divided until you have finished tracing the line. Repeat the process to section your hair horizontally and apply the tape-in extensions until all your tape-ins are installed.
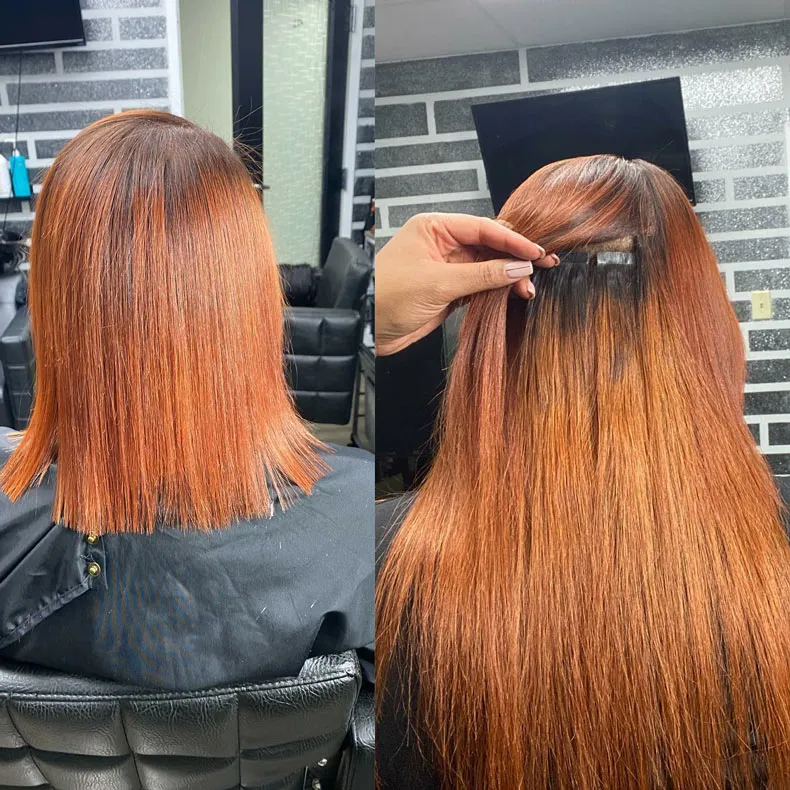
Step 4: Style your hair:
Undo your hair at the front. Use your finger or a comb to blend your hair with the tape-in hair extensions. To achieve a natural look, you should cover your extensions with your front hair. And now you can style the tape-in hair as you desire.
Tape in hair extensions tips and tricks
Tip 1: Leave out your front hair around the hairline and the parting area, so that the weave of extensions can be completely covered and achieve a natural look.
Tip 2: After your tape-in hair extensions are applied, wait at least 48 hours before washing your hair. Wear a shower cap to protect your tape-ins, if a shower is necessary during this time.
Tip 3: Don't wash your tape-in hair every day, only wash your hair while it really needs to be washed.
Tip 4: Don't apply oil near the tape, or it may lead to slide-off.
Tip 5: Pull your tape-in hair into a loose ponytail or braid before going to bed.
Where can you buy tape-in hair extensions?
Ula Hair offers tape-in hair extensions in a variety of colors, textures, and lengths. Click and explore our latest selections of tape-in hair extensions. Choose from silky straight hair, kinky straight tape-ins, deep wave hair, kinky curly tape-in hair extensions, afro curl tape-ins, body wave hair, deep wave hair, and so on. Length ranges from 12 inches to 30 inches. Our tape-in hair extensions are made with cuticle-aligned human hair, textured, durable, and natural in appearance. Add volume and lengths to your natural hair, and boost your charms this season with Ula Hair tape-in extensions!
Related Posts:
Tutorial: How to install clip-in extensions?