 USD
USD EUR
EUR GBP
GBP CAD
CAD AUD
AUD
Things to know about sew-in hair extensions
Things to know about sew-in hair extensions
What are sewing hair extensions?
Sew-in hair extensions are the process to braid your natural hair into cornrows and then sew down hair extensions into the cornrowed natural hair with thread and needle. It's the safest possible and long-term way to create a fuller and thicker hair look.

Pros and cons of sew-in hair extensions
Just like every coin has two sides, sew-in hair also has its pros and cons.
Pros:
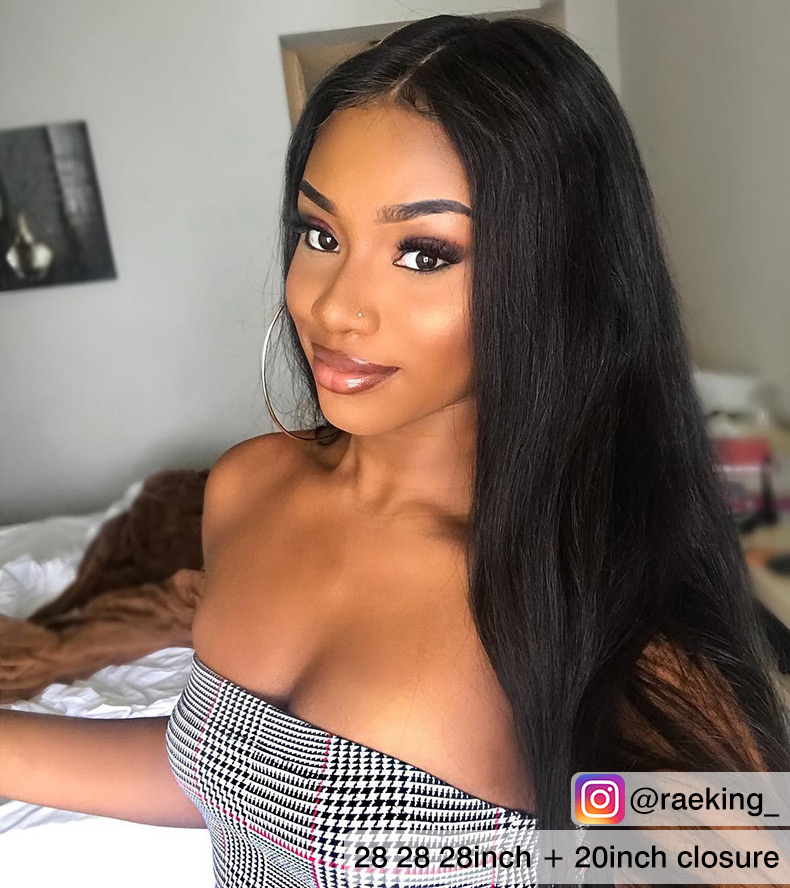
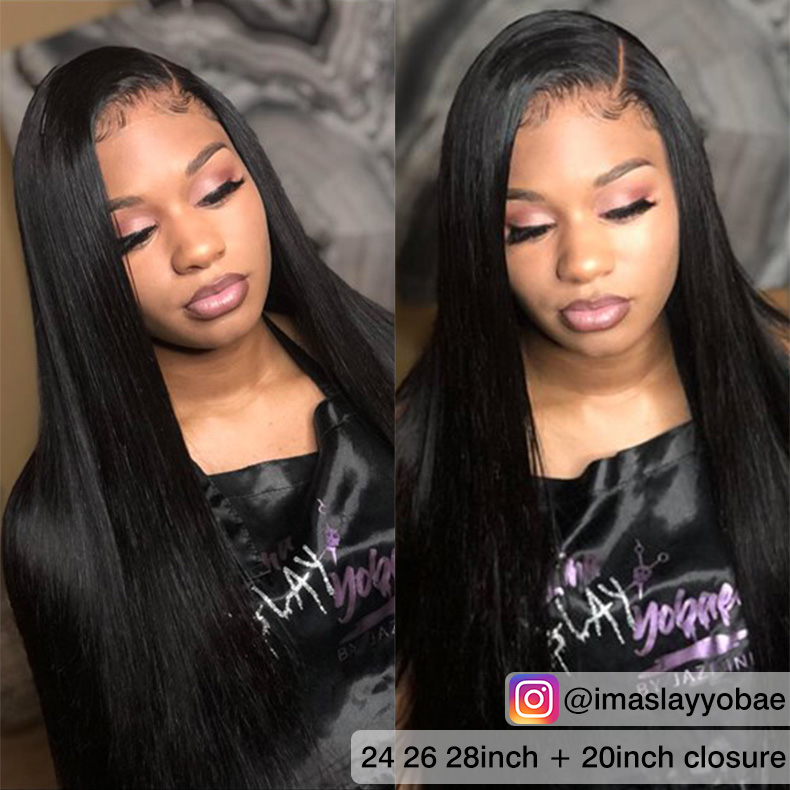
Add length and volume: Sew-in hair weave is the most traditional and safe solution to achieve a longer and fuller hair look. Gone are the days of waiting for your own hair to grow out, sewing hair extensions can add your hair length and volume in a short time. What's more, sew-in weaves can always provide a fuller and thicker hair look than other extension techniques.
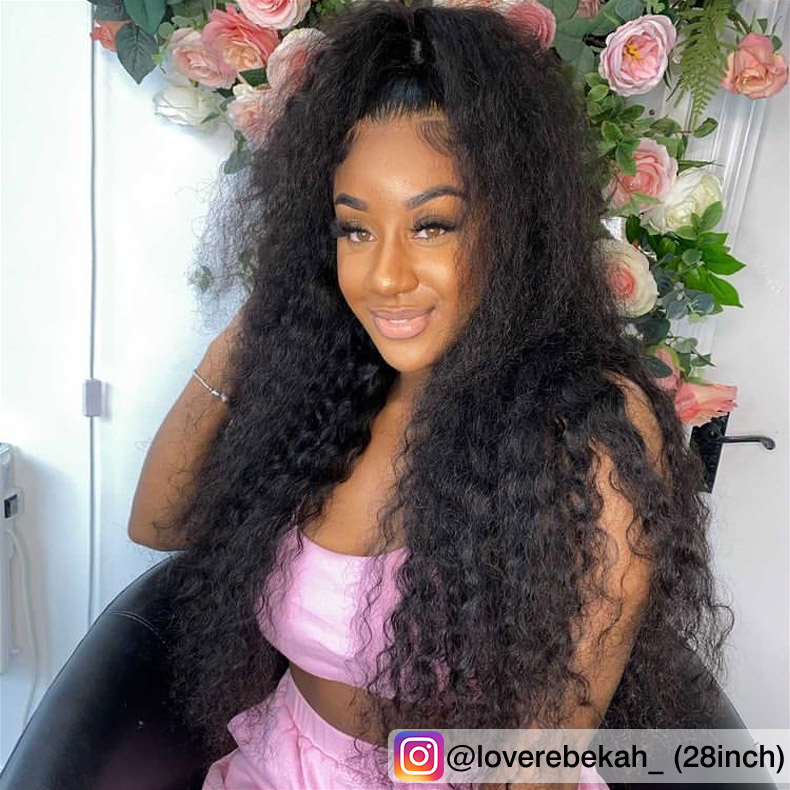
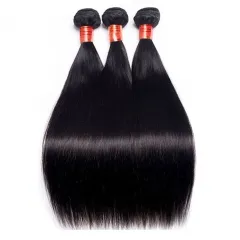
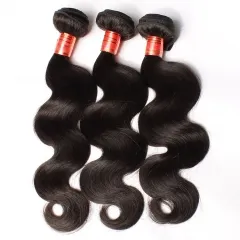
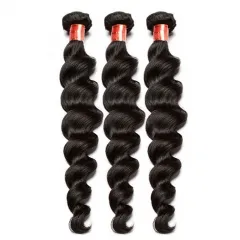
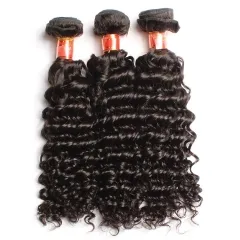
Various colors and textures: Ula provides various human hair weaves in various colors, textures, and lengths. The magic of sew-in hair extensions is that you can rock various hairstyles without damaging your real hair.
Versatile in styling: Lots of hairstyles require hair volume and length. Sew-in hair extensions give you a full head of long tresses so you can rock the various long hairstyles you desire. What's more, human hair extensions come in a variety of colors, textures, and lengths, so you can always rock the most popular hairstyle without damaging your natural hair.
Short hair available: Different from other extension methods, sew-in hair extensions work well on short hair. With the proper wearing technique, the roots of sew-in hair extensions are invisible and always available to provide you with a seamless appearance.
Require no glue or heat: The installation of sew-in hair requires no glue, no tape, no chemical, and no heating. It's one of the safest extension techniques. This weaving method doesn't damage your hair with proper installation.
Low maintenance: Sew-in hair extensions allow you to keep them for a few months and save you free from the tears of styling your hair every morning. Moreover, 100% human hair requires low maintenance, you can just treat them as your natural hair.
Firm and will not fall out: The hair weaves are sewn into your braided natural hair with thread and needle. Thus, with sew-in hair extensions, you will never face the embarrassment that your hair extensions will slide off. Sew-in hair extensions are more firm than other extension solutions.
Cons:
Take a long time to install: Compared with tape-in hair extensions and clip-in hair extensions, sew-in hair extensions take more time to install and remove. A sew-in typically takes about 2-3 hours and can last for about 2-3 months. While a clip-in typically takes a few minutes but has to be removed every night before you head to your bed.
Not suitable for those who have damaged hair: Actually, no matter which weaving technique you go for, they will certainly put extra tension on your natural hair and your scalp. Thus, if your natural hair is weak and thin, you'd better focus more on your hair care routine instead of wearing hair extensions.
What do you need to consider before sewing hair?
Before you dive into the sewing process, here are some points you need to determine in advance:
- Human hair extensions or synthetic hair, which to go for?
As we all know that human hair extensions are more durable, more versatile, and longer-lasting than synthetic hair. If you wish your hair extensions can last for more than 1 year, or if you wish to perm or heat style your hair extensions as you would on natural hair, human hair extensions are a smarter choice. Explore more distinction between human hair and synthetic hair in our previous post: How To Distinguish Synthetic Hair And Human Hair
- What color to go for?
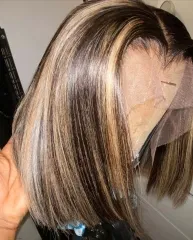
Typically, 1b hair color is the most well-blending hair shade for natural black hair. This hair shade comes in a natural black and has a dark brown luster under the sun. If you desire a natural result, 1b hair should always be your first choice. Explore the differences between 1b hair color and 2 hair color in our previous post: All you need to know about 1b hair color. Of course, if you desire to add some funs to your hairstyle, such as peekaboo, highlight, ombre, etc, you can add colored hair weaves to create the magic.
- How many bundles do you need?
Typically, 3-4 bundles are sufficient for a full and thick hair look. For a natural hair look, 2-3 bundles are enough. Curly hair and kinky hair come with more volume than silk straight hair, thus it requires fewer bundles than silk straight hair. If you sew-in hair with 360 lace frontal, it takes fewer bundles than sew-in with a lace closure.
- What hair length you should go for?
Here is a hair length chart for your reference. What is noteworthy is that curly and wavy hair textures look shorter than their actual length. 14-Inch hair is typically below the shoulder area while 16-inch hair is about to reach the bar strap.
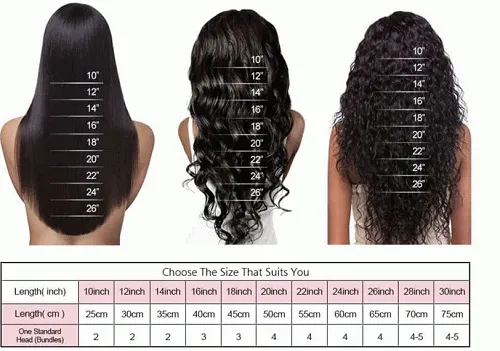
Click to explore the difference between 14-inch hair and 16-inch hair in our previous post: How long is 14-inch hair?
- What hairstyles do you desire?
If you desire a sleek and seamless high ponytail, leaving out the edges around your head circumference or buying a 360 lace frontal is the secret to achieving a more natural appearance. If you desire to create an undetectable hairline, opting for an HD lace frontal or lace closure is a smart choice. By the way, if you don't want to sew in closure, you need to determine how you want your hair to be parted.
So the above-mentioned is what you need to know before diving into the sew-in hair process.
How to sew in hair extensions?
Here comes a simple but comprehensive tutorial on how to sew in weaves:
What you need:
A wide-tooth comb;
Shampoo and conditioner;
A rattail comb;
Rubber bands;
Bobby pins;
Thread and needle;
Human hair weaves.
Step 1: Prepare your natural hair and hair extensions
Detangle your natural hair with a wide-tooth comb. Shampoo and condition your natural hair as you normally would. Blow your hair dry with the lowest heat setting. Massage a small amount of natural oil to moisturize your hair. A clean and healthy base can prolong the duration of sew-in extensions.
If your hair extensions are new buy, you don't need to wash them before sewing. If your hair extensions have been worn before and are greasy, you'd better wash them thoroughly before you put them on your head.
Step 2: Make a part
Strengthen your hair with a wide-tooth comb. Use a rattail comb to section out a portion of hair for the part. Secure the braid with a rubber band. Braid this portion of hair toward the front. This
portion of hair is left out for parting and to conceal the weaves.
Step 3: Braid cornrows
Start at 1.5-2 cm away off the edges, grab three small equal strands of hair to braid them together to create a flat and thin cornrow. Secure the ends with a rubber band. Repeat the braiding process until you finish a full head. Be noticed that braid cornrows tight but not too tight, or it may lead to headaches and damage your natural hair. If your braids are long, stuff the tails into the gaps between the cornrows and fix them with some bobby pins to achieve a flat base.
Step 4: Sew-in hair extensions
Thread your needle. If you desire a fuller result, you can stitch two pieces of hair wefts together with your thread and needle. If you desire a natural and thin hair look, you can skip it. Clip your upper hair up and start at the back of your nape. Grab a piece of hair weft and make a double knot at the side of the weft with your threaded needle. And then insert your threaded needle through under the cornrows to attach the hair weft to your braided hair. Continue to sew the hair weave into the cornrow horizontally. When you reach the opposite end of the hair weave, fold it up and go ahead to sew in weave. Repeat to do so until you finish a full head.
Step 5: Style your hair
Updo your leave-out hair and make a part to conceal the traces of the weaves. Comb your hair with a wide-tooth comb to achieve a natural blending. If your desire a more seamless result, you can also use heat styling tools to strengthen or curl your hair. Be noticed that before you apply heat to your hair extensions, spray the heat protector in advance. Or you can trim the hair extensions with a pair of sharp scissors to achieve a natural result.
How long does sew-in hair last?

Unlike clip-in hair extensions, you have to take off the clip-ins every night before you head to bed. Sew-in hair extensions can stay on your head for about 6-8 weeks with proper dressing technique and care. Opting for high-quality human hair weaves and allowing them to be applied by a certificated stylist can prolong the duration. Never keep sew-in hair extensions on your head for longer than 3 months, or it may lead to itch and hair shed.
How to remove sew-in hair extensions?
It's quite easy to remove sew-in hair extensions. It doesn't require too many professional skills but patience. All you need are just a pair of sharp small detail scissors and some clips. By the way, to avoid cutting your real hair, you'd better ask for assistance from another pair of hands. You can ask your sister or your mom to help you. Moreover, ensure the removal process is done in a light environment.
Step 1: Expose the trace
Clip the upper section of your real hair up to expose the trace underneath.
Step 2: Cut the thread
Use the small detail scissors to cut the thread that attaches the weave to the cornrows. Be as careful as possible to avoid cutting your real hair or hair extensions. Once you have cut down all the thread that attaches to the hair weave, gently remove the hair weave. Repeat cutting the thread around the weave row by row until you remove all the hair extensions from your head.
Step 3: Untie your hair
Remove the bobby pins that you used to fix the cornrows. Undo your braided hair row by row. Detangle your hair with a wide-tooth comb.
Step 4: Shampoo and condition your hair
Since you have kept the sew-in weaves on your head for a few weeks. Your natural hair keeps growing and the dirt keeps building up. It may be a little bit hard to detangle the hair, but you can rub a small amount of hair conditioner to smooth it out. Opt for a sulfate-free shampoo and hair conditioner to clean your hair thoroughly. Pat dry your hair with a soft towel and blow it dry with the lowest heat setting. Finally, massage a small amount of natural oil to seal the moisture in your hair. Avoid over-styling your hair and give your hair a break for at least a few days.
Step 5: Wash your hair extensions
Remove the thread on the weaves. Gently detangle your hair extensions with your fingers or a wide-tooth comb. Grab the weave and rinse it under a tap. Allow the water to flow from the roots to the tips. Squeeze out the excess water and shampoo your hair extensions to remove dirt and oils. Rinse it again with lukewarm water and squeeze out the excess water again. Apply hair conditioner to your hair extensions and let them sit for about 10-30 minutes to moisturize your hair extensions. Rinse it thoroughly under a tap and pat it dry with a soft towel. Lay the hair extensions on a flat table to let them airy dry or hang them dry with a hanger.
Dos and don'ts of sew-in hair extensions?
Here are some hair extension care tips that can help yours last longer.
Dos:
- Detangle your hair regularly: Use a wide-tooth comb or your fingers to comb your hair before shampooing it, before styling it, and before you head to bed. This is to minimize knots and buildup.
- Choose mild products for your hair care routine: Opt for sulfate-free and silicone-free shampoo and hair conditioner for your hair extensions. Shampoo that contains sulfate and silicone can stripe the moisture from your hair extensions and is not suitable for Afro hair.
- Wash less: If your sew-in hair extensions are not so dirty, wash them no more than once a week. Wash too frequently can stripe the moist and natural oil from your hair extensions and lead to hair drying. Take a dry shampoo as an alternative between two washing days. Be noticed that you should also avoid applying dry shampoo to the sewn part.
- Wash gently: Gently rub the hair extensions with the pads of your fingers instead of scratching your scalp with your nails, or it may loosen the sew-in hair and damage your scalp. You should try to avoid touching the sewn part.
- Condition: Avoid applying hair conditioner on the sewn part, or it may lead to slide out. Try to apply the conditioner from just below the sewn part. Allow the conditioner to sit for 5-30 minutes so that it can work deeply to moisturize your hair extensions.
- Dry your hair completely after shampooing: Make sure your braided natural hair underneath is completely dry, or it may lead to headaches and hair shed. Blow your hair dry with the lowest heat setting. Spraying your hair extensions with a heat protector before you apply heat is highly recommended.
- Protect your hair at night: Pull your hair into a loose ponytail or a loose bun and warp your hair up with a satin scarf at night. Or you can put a silk scarf on your pillow. This is to protect your hair from getting frizzy while you sleep.
- Moisturize your hair: Natural oil such as coconut oil, olive oil, or Moroccan hair oil can help to conceal the moisture in your hair and nourish your hair. Apply a small amount of hair oil to your hair, especially to the tails after blowing dry, and after applying heat is highly recommended. If you feel the oil is too heavy for your hair, diluting a few drops of natural oil in a water spray bottle is also a smart alternative. Of course, a leave-in conditioner is also a good choice.
- Give your hair a break: Allow your natural hair to rest for a few days after removing your hair extensions. Avoid over-styling your natural hair these days and give your hair a deep condition after removing your hair extensions.
Don'ts:
- Avoid using heat styling on your hair extensions: Straightening or curling your hair extensions frequently with heat styling tools can lead to hair drying and damage your hair texture. Braid your hair into plaits overnight or using some hair rollers can also create beautiful curly hair. Blow your hair with cold air and combing with a flat comb can also bring you textured straight hair. If you have to heat style your hair, use a heat protectant spray in advance and set the heat styling tools at a medium to low temperature as possible.
- Avoid keeping your hair extensions on for more than 3 months: Even with the most proper care and dressing technique, sew-in hair extensions can last anywhere between 6-8 weeks. If you feel your scalp is unbearable itchy, it's a signal to remove your hair extensions. If you keep your sew-in weave on your head for more than 3 months, it can lead to extra tension on your scalp and lead to hair shed. What's worse is that it can restrain your natural hair growth.
- Avoid sleeping with your hair wet: Ensure your braided natural hair underneath is completely dry before you head to your bed. Sleeping with wet hair may lead to hair shed and headaches.
5 Chic and easy hairstyles for sew-in hair extensions
- Sleek Ponytail:
Sleek ponytail is no doubt one of the most classic and chic styles. Sew-in hair extensions give you sufficient volume and length so you can achieve a voluminous and seamless ponytail as if it is based on your real hair. It is quite an easy and quick style for busy girls or moms. Here is a simple tutorial to create a thick ponytail with sew-in hair:

Step 1: Sew-in hair extensions. You can follow the above-mentioned step-by-step sew-in hair extensions tutorial. What is noteworthy is that you can leave out the edges around your head circumference to achieve a seamless result.
Step 2: After sewing hair extensions to your braided hair. Slick back your hair with a wide-tooth comb gently. Be noticed that avoid combing the sewn part as well. you can also apply a small amount of edge control or leave-in conditioner to your hair while you comb the hair to add a polished touch.
Step 3: And then pull your hair into a ponytail. and secure the base with a hair tie. You can leave out a strand of hair to wrap around the base. Finally, apply a small amount of edge control to styling your baby hair. Then, a sleek and neat high ponytail is finished.
- Half-up Half-down:
This is also a versatile and classic hairstyle you shouldn't miss out. The upper falling-down part can perfectly hide the weaves and provide you with an undetectable appearance. It's hard for someone to notice that you are wearing hair extensions unless you tell them. What's more, this style is also the most classic hairstyle for weddings. It can be romantic, dynamic, and sometimes looks very cool!
Step 1: Sew in hair extensions. If your upper natural hair is very thick, you can skip sewing hair extensions on the upper section to save hair bundles. If you have thin hair, you can choose to sew a full head of hair extensions. Also, be noticed that leave out about 1.5-2 cm around the edges to achieve a seamless result.
Step 2: Create a horizontal part on the back of your head. Pull the upper section of hair into a ponytail or a bun. Avoid exposing the trace of weaves under. And a half up half down style is finished.
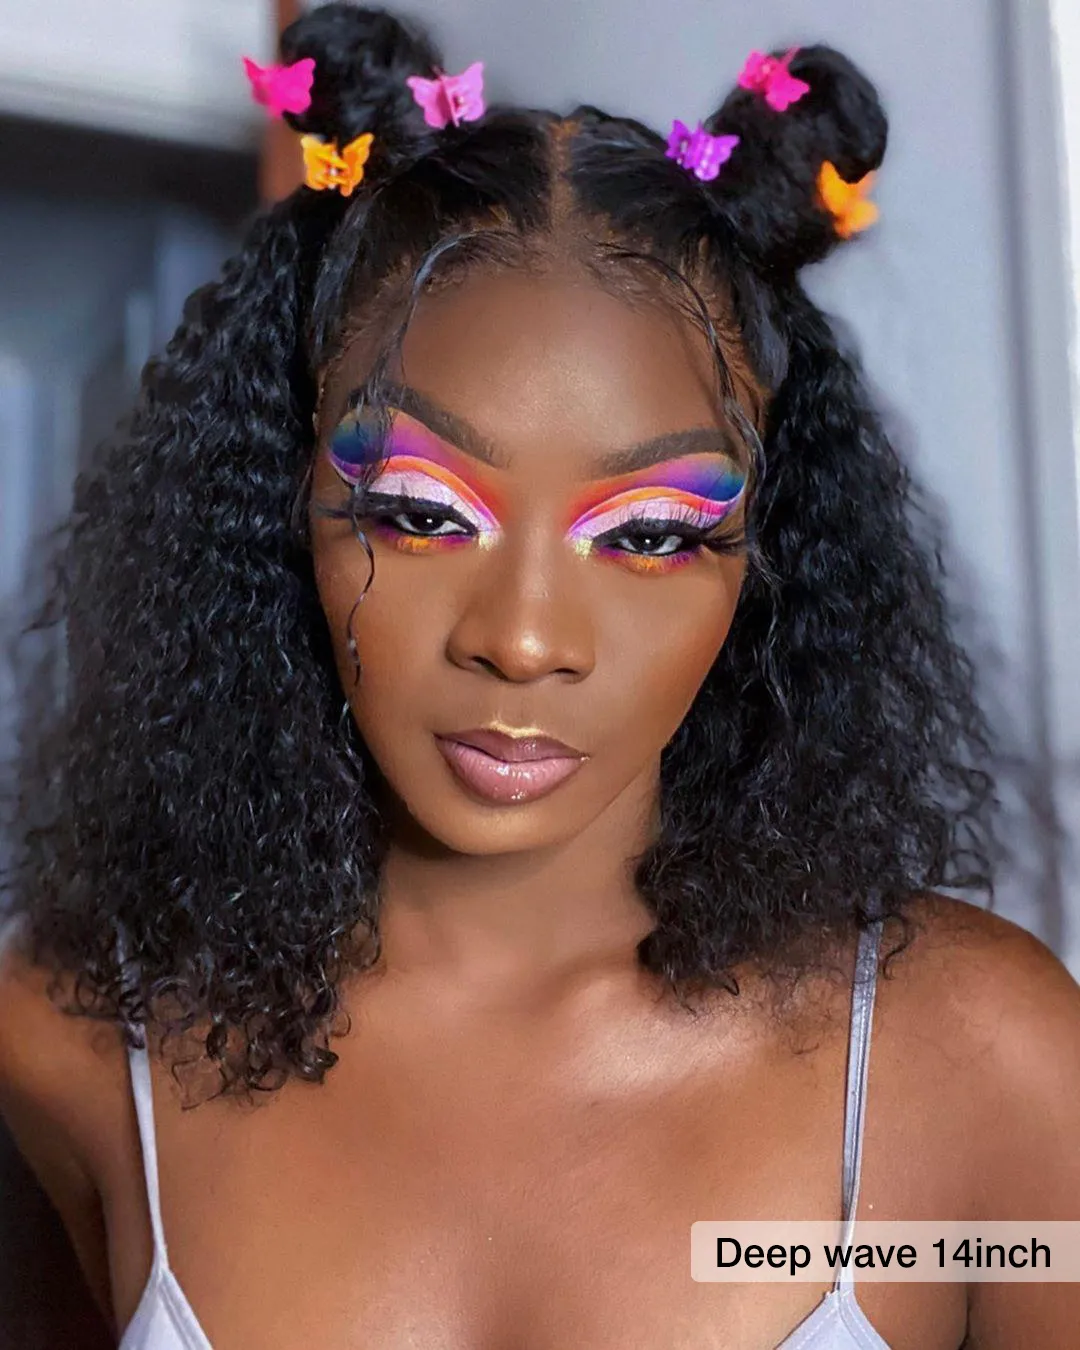
- Space Buns:
This style is lovely and cute. It's available for long hair and short hair. Space buns can always add a youthful and playful touch to your style in minutes.
Step 1: After sew-in hair extensions, pull your hair into a half-up half-down style.
Step 2: Separate the upper section into two sections. Pull these two parts of your hair into two ponytails individually. Secure each ponytail with an elastic band.
Step 3: Divide the ponytail into two strands, and wrap around each strand. And warp it around the base into a mini bun.
Step 4: Repeat to wrap another ponytail to create a mini bun. And then a lovely space buns style is finished.
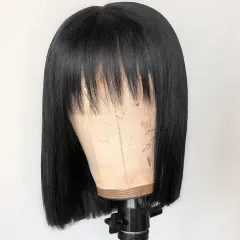
- Peekaboo Bob:
Rock two hair shades in a funny style. Peek-a-boo style means that the bottom layer of your hair is in a different color from the upper layer. The bottom color is only visible when the upper hair is lifted. This style works well on both short hair and long hair. And there are so many bright colors you can hide under to achieve this amazing illusion. It's a versatile and chic style that you should not miss out. To create peek-a-boo with sew-in hair, you don't need to dye your natural hair, you can directly buy colored hair for sew-in. In this way, your natural hair is well protected from harsh chemicals.
- Bouncy curls:
This style looks furry and voluminous, while it's also very lightweight. It's ideal for those who have long faces and triangular faces. The bouncy curls can help to soften the jaw and chin. and minimize the length of the face.
To create bouncy curls to your hair with sew-in hair extensions, you don't need to curl your hair with a curling iron, you can directly buy curly hair extensions for sew-in. In this way, your natural hair is also well protected from heat styling tools.
Best hair for sew-in
There are omnifarious types of hair extensions for your choices, such as virgin hair, Remy hair, Brazilian hair, Peruvian hair, Indian hair, Malaysian hair, and even synthetic hair, etc. Wish you guys haven't been lost here before. The good news is that you guys will never be lost anymore after reading this post. The best hair for sew-in is that cuticle-aligned human hair. Wherever you guys buy hair extensions from an online hair store or a brick-and-mortar store nearby, confirm with your hair vendor that the hair they sell is made of 100% cuticle-aligned human hair. Shop high-quality human hair extensions in Ulahair!
 40%
40%
OFF Sale-
$59.31
$99.04(1306) (1071)

 40%
40%
OFF Sale-
$70.42
$117.60(1083) (1052)

 50%
50%
OFF Sale-
$59.60
$119.20(2070) (1345)

 50%
50%
OFF Sale-
$59.60
$119.20(1743) (2713)

 50%
50%
OFF Sale-
$62.60
$125.20(2645) (2016)

 50%
50%
OFF Sale-
$62.60
$125.20(2878) (1365)

 40%
40%
OFF Sale-
$120.73
$201.62(301) (252)

 50%
50%
OFF Sale-
$53.40
$106.80(1953) (1218)

Faqs of sew-in hair extensions:
Here are some frequently asked questions that we have received from our customers:
Q: Do sew-in extensions damage your hair?
A: No. With proper sewing technique and care, sew-in hair extensions will never damage your hair. But sew-in hair extensions can damage your natural when improper care is taken, or when you leave them on your head for a quite long time. The installation of sew-in hair extensions requires no glue and no heat, it's a safe weaving solution to switch up your hairstyles in hours.
Q: How long does it take to sew-in hair extensions?
A: Typically, a sew-in takes about 3-4 hours to install. If your dresser is an old hand, the whole installation process can be done within 2-3 hours.
Q: Are sew-in extensions painful?
A: With proper installation and care, sew-in never causes pain. If you feel pain and discomfort, you should stop the sew-in process and check what caused the pain. Here are some possible reasons that may lead to pain:
1. Your natural hair underneath is braided too tight.
2. Your hair extensions are too heavy and bring too much tension to your scalp.
3. Your hair extensions are sewn too close to your scalp.
Q: How much does it cost to get sew-in extensions?
A: A sew-in average costs from $150 to $600. The charge varies depending on your area, your hair extension types and lengths, and your hairdresser.
Q: Can I wash my hair with sew-in extensions?
A: Yes, of course, You can shampoo your hair as normal with sew-in hair on. But be noticed that opt for a mild sulfate-free and silicone-free shampoo for your hair care routine. Avoid scratching the sewn part and your scalp while you wash your hair. Blow your hair dry completely with the lowest heat setting after washing.
Q: Can I apply heat to sew-in hair extensions?
A: If your hair extensions are 100% human hair, of course, you can apply heat to them. But if your hair extensions are synthetic hair or mixed hair, you'd better avoid doing so, or your hair extensions can be damaged. By the way, before you apply heat to your hair extensions, spray heat protectant on your hair and set the heat at a low to medium temperature.
Q: Can I dye my hair after sew-ins are installed?
A: No. Actually, you should avoid dying hair extensions, since the harsh chemicals from hair dye can damage your hair extensions. If it is necessary for you to dye hair extensions, you should dye your hair extension individually instead of when they are worn on your head. Or the hair dye can also affect your braided natural hair underneath.
Q: Can I go swim with sew-in extensions on?
A: Yes. With sew-in hair extensions, you will never need to worry your hair extensions will slide off underwater. You can go swimming with sew-in hair extensions, but we highly suggest you avoid doing so. Cause the chlorine and salt in the poo and sea can stripe out the moisture from your hair and lead to hair dry and frizzy. If you have to dive into the pool with hair extensions on, pull your hair extensions into a bun and cover it with a swimming cap in advance. Moreover, make a thorough washing and deep condition for your hair extensions after swimming.
Conclusion:
Sew-in hair extensions are an amazing and safe solution to provide you with a seamless and voluminous hair look. It's a gorgeous way to switch your hairstyles in hours but long-lasting for months.
Related Posts:
A Comprehensive Guide To Faux Locs
6 Protective Hairstyles Recommended For 4C Hair
A Comprehensive Guide To Quick Weave
All You Should Know Before Buying Tape-In Extensions